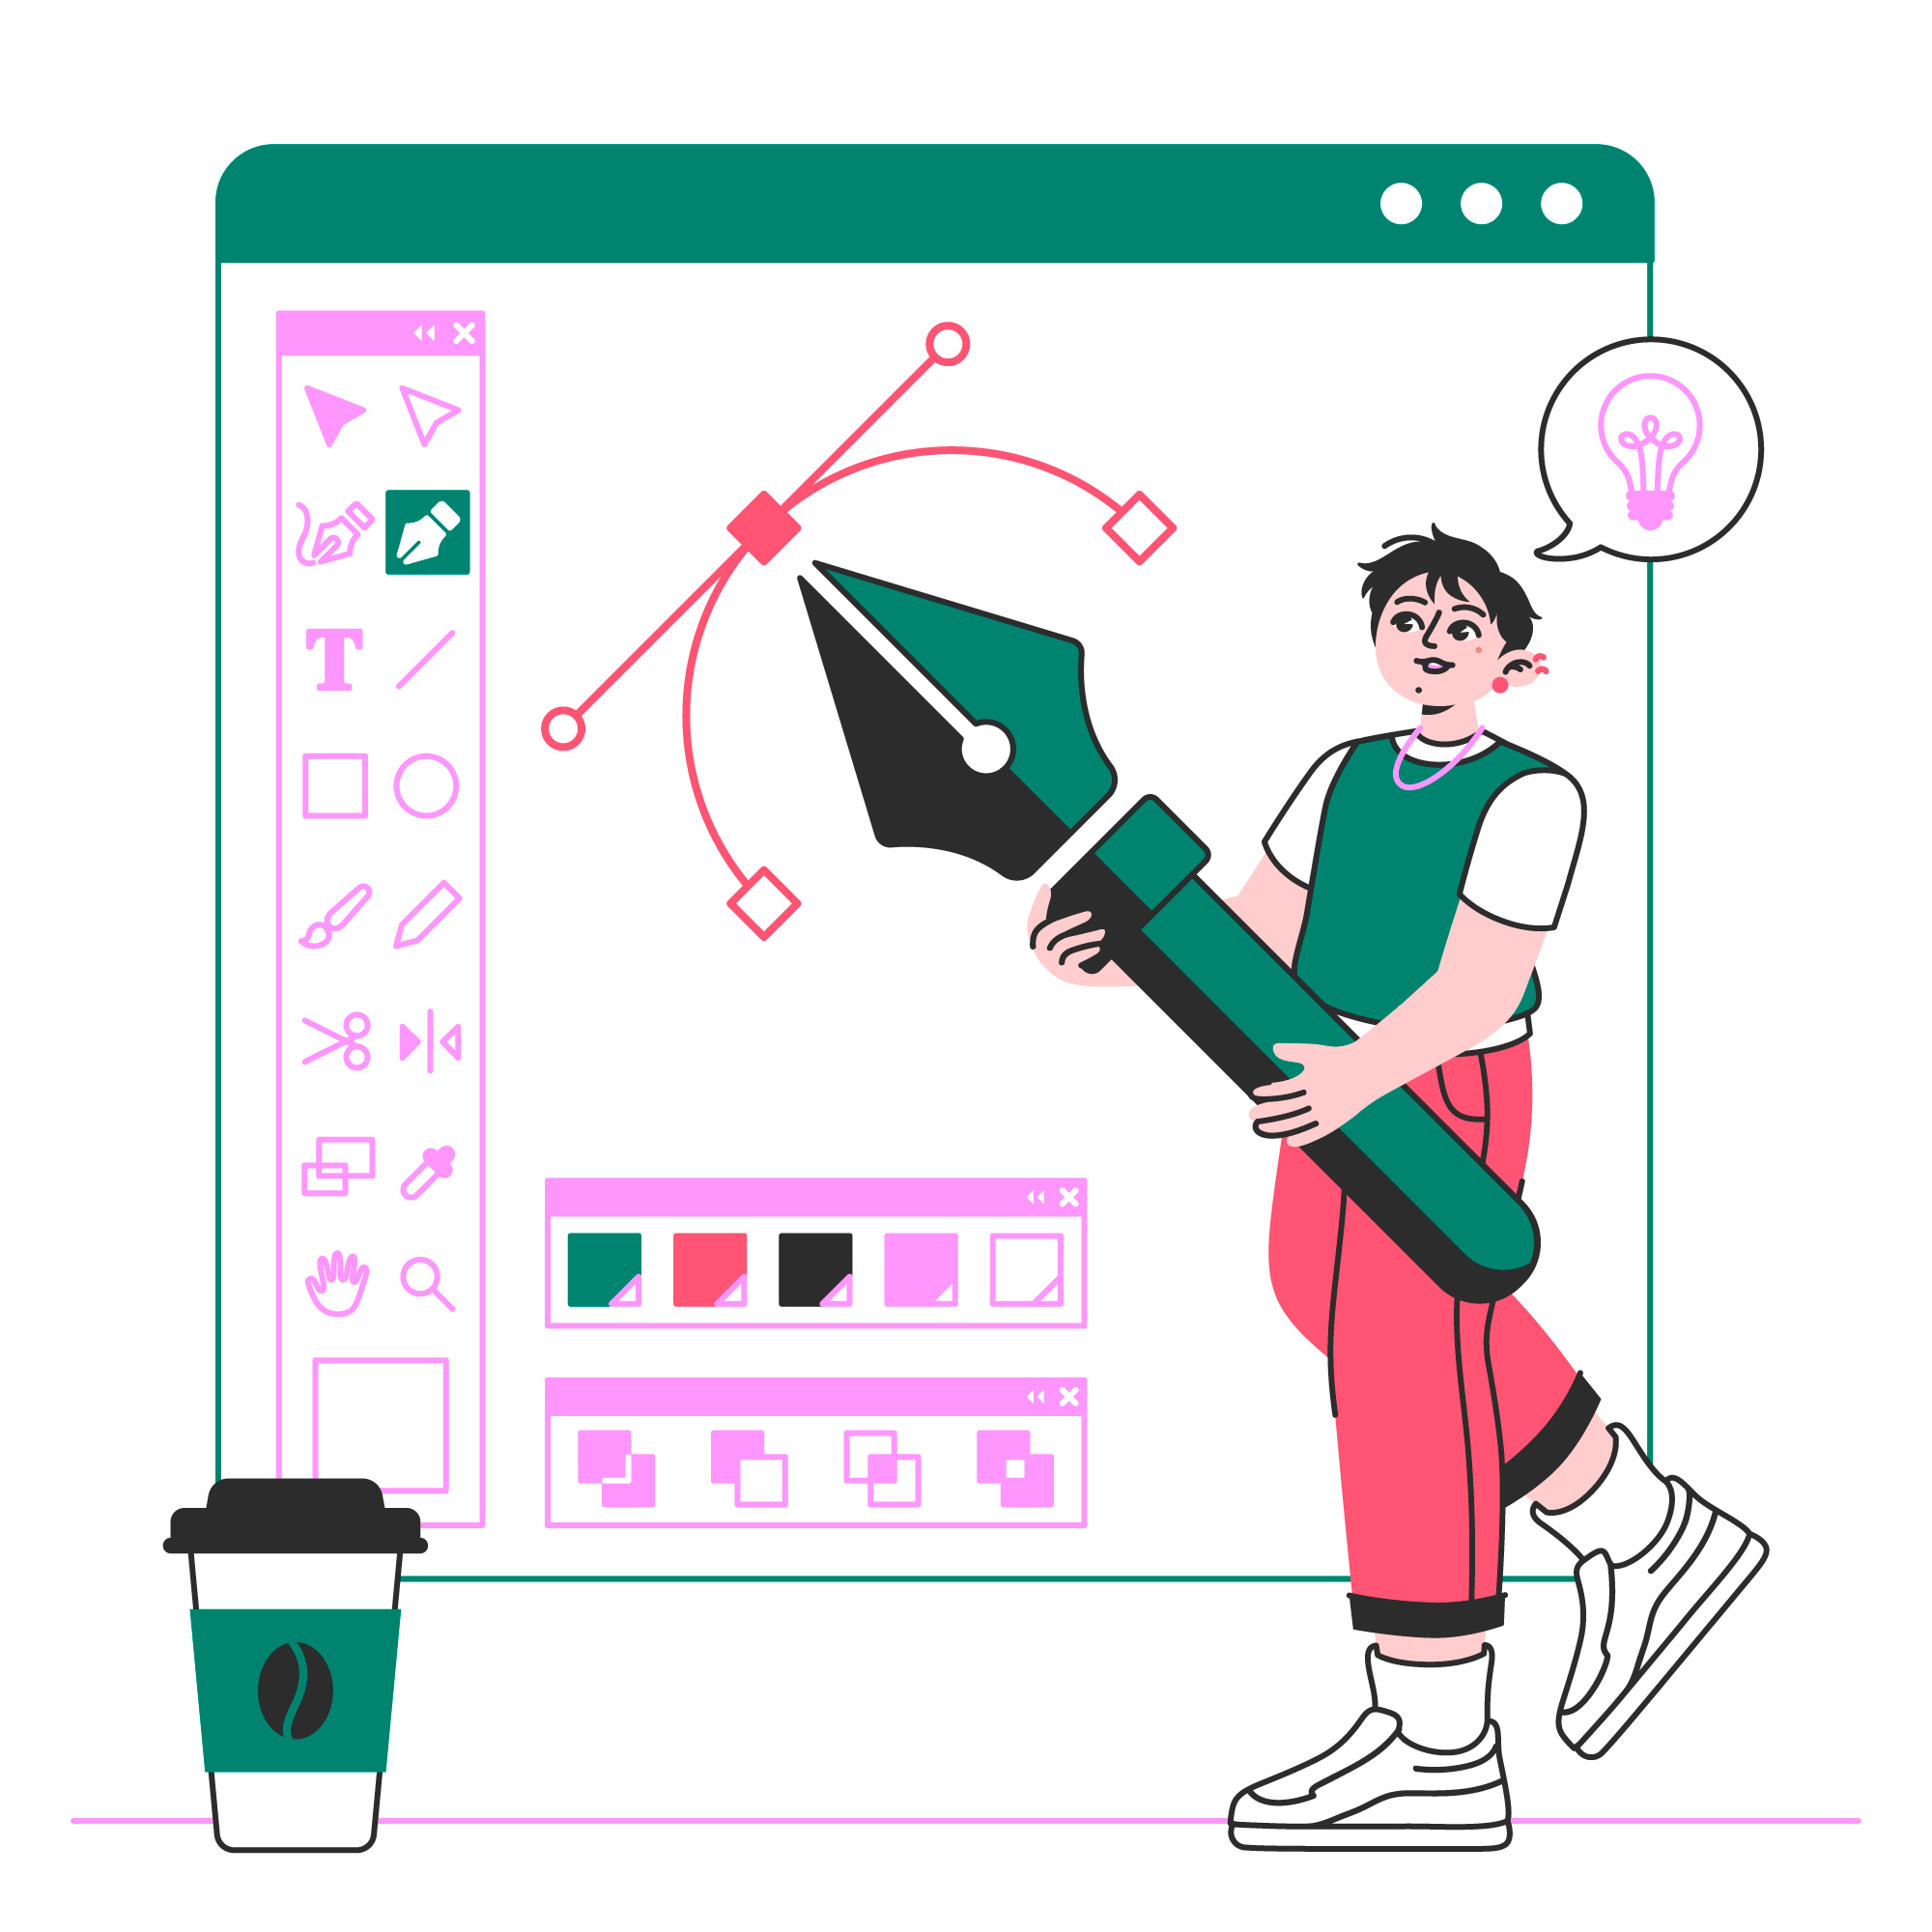
Vector illustrations are a powerful way to create high-quality, scalable graphics that maintain crisp details at any size. Whether you're designing logos, marketing materials, or digital artwork, mastering vector techniques is essential for professional-quality visuals. In this guide, we'll explore the key steps, tools, and tips to help you create stunning vector illustrations with ease. From choosing the right software to mastering essential techniques like path manipulation and color gradients, this article will provide a complete roadmap for beginners and professionals alike.
To create vector illustrations, you'll need the right software. Here are the top options:
Adobe Illustrator – Industry standard with advanced features.
CorelDRAW – A great alternative for professional vector design.
Inkscape – Free and open-source, perfect for beginners.
Affinity Designer – A cost-effective and powerful solution.
When choosing software, consider your budget, required features, and ease of use. Adobe Illustrator is the most popular, but free tools like Inkscape also offer powerful vector editing capabilities.
👉 Explore the best vector design software here
Vectors use mathematical paths instead of pixels, allowing illustrations to remain sharp at any size. Key concepts to understand include:
Anchor Points & Paths – The building blocks of vector graphics.
Stroke & Fill – Define outlines and interior colors.
Layers & Groups – Organize your artwork efficiently.
Bezier Curves – Essential for smooth and precise shapes.
By mastering these basics, you’ll have full control over your designs.
To create professional-quality illustrations, focus on these core techniques:
The Pen Tool is the backbone of vector illustration. Use it to create precise curves and paths. Additionally, shape tools and the Pathfinder feature allow you to combine basic forms into complex designs.
Choose a harmonious color palette using tools like Adobe Color.
Use gradients and shading to add depth and realism.
Apply blending modes for unique lighting effects.
Vary stroke thickness to create emphasis and movement.
Use vector brushes to simulate natural textures.
Experiment with opacity & overlays for soft shading.
Once your illustration is complete, exporting it correctly ensures the best results. Follow these steps:
Choose the right format:
SVG – Best for web graphics.
EPS – Ideal for print and professional use.
PDF – Universal format for high-quality printing.
Optimize file size by removing unnecessary points and simplifying paths.
Check scalability by zooming in to ensure sharpness at different sizes.