Great design starts with a clear idea and the right tools. With Seekvector, you can transform free PNG and SVG assets into polished visuals for web, social, print, and brand systems—without a big budget. In this guide, you’ll learn a simple, repeatable workflow to take a concept from sketch to finished art: plan your look, choose the right file format, customize with beginner-friendly tools, and optimize for speed and SEO. By the end, you’ll be able to turn Seekvector files into true masterpieces that look crisp on any screen, load fast, and stay on brand.
Before you download anything, clarify the creative direction.
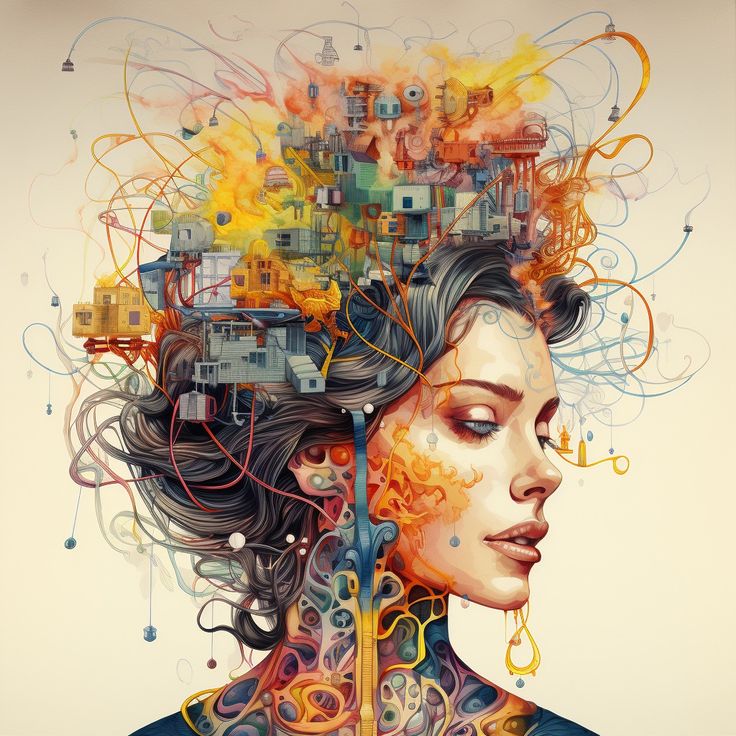
Goal: What should the image make people feel or do?
Audience: Who will see it—buyers, students, execs?
Medium: Website hero, app UI icons, Instagram post, flyer, or packaging.
Style & palette: Minimal, geometric, playful, or editorial? Choose 3–5 brand colors.
Quick win: Build a lightweight moodboard (screenshots + color swatches). Save time later by aligning style upfront.
👉 Explore visual categories on the Seekvector homepage to match your concept quickly.
Choosing the correct format ensures quality and speed.
Use SVG when you need:
Scalability with no pixelation (logos, icons, line illustrations).
Editable layers (change fills, strokes, text).
Tiny file sizes for UI and vector shapes.
Use PNG when you need:
Transparent background overlays and photo-like detail.
Drop-in speed (social posts, quick mockups).
Consistent appearance across platforms.
Pre-download checklist: Purpose, color/style match, aspect ratio, and license notes.
(Alt text example: “Seekvector minimalist SVG icon set for website navigation”)
For a refresher on vector concepts and editing basics, see Adobe Illustrator tutorials.
You don’t need complicated software to make pro-level changes.
Beginner-friendly tools
Figma (free tier): Browser-based, great for teams and exports.
Inkscape (free): Open-source editor for precise SVG edits.
Canva: Quick compositing and text layouts.
Adobe Illustrator: Industry standard for deep vector control.
Step-by-step workflow
Import the SVG (preserve layers).
Recolor to your brand palette; keep accessibility contrast in mind.
Swap typography for your brand fonts; set consistent sizes/line height.
Refine layout (spacing, alignment, focal point).
Add subtle effects (gradients, soft shadows) to create depth without clutter.
Export smartly:
SVG for icons/UI and flat graphics.
PNG/WebP for hero art and social posts (multiple sizes).
(Alt text example: “Editing Seekvector SVG illustration in Figma with brand colors and fonts”)
For social and ad sizes, Canva’s design size guide is a handy reference.
Fast pages rank and convert better, and crisp visuals build trust.
Compress images: TinyPNG for PNG/WebP; SVGOMG for SVG minification.
Use the right format: SVG for icons; WebP/PNG for rich artwork.
Responsive delivery: Export multiple widths (e.g., 640/1280/1920) and use srcset.
Lazy-load below the fold: Defer off-screen images.
Accessible, keyword-aware alt text:
“Seekvector abstract header illustration for SaaS onboarding page.”
“Seekvector 3D isometric marketing icons for pricing section.”
File naming for SEO: seekvector-abstract-illustration-saas.svg beats img_123.svg.
Turn a solid base file into standout artwork with small, focused tweaks.
A. Web Hero Illustration
Start with a Seekvector abstract scene.
Recolor to brand palette, add product UI mock bits.
Export WebP + SVG overlays; implement srcset + lazy-load.
(Alt text: “Seekvector abstract hero illustration for fintech homepage”)
B. UI Icon System
Choose a single icon set style.
Normalize stroke weight, corner radius, and grid.
Export as optimized SVG sprites for snappy loads.
(Alt text: “Seekvector line icon set for mobile app UI”)
C. Social Campaign Set
Combine a Seekvector background with brand headline + CTA.
Export square (1080×1080), story (1080×1920), and landscape sizes.
(Alt text: “Seekvector campaign graphic for Instagram carousel post”)
D. Print One-Pager / Flyer
Use a vector infographic; swap colors/text.
Export PDF/X with outlined fonts and 3 mm bleed.
(Alt text: “Seekvector infographic template adapted for conference handout”)
Need more asset ideas? See our collections on Seekvector and build a reusable brand kit.
Too many styles mixed: Pick one illustration style and stick with it.
Low contrast text on art: Adjust colors or add an overlay for readability.
Heavy files: Re-export at the smallest acceptable size; minify SVGs.
Missing alt text: Add descriptive, keyword-friendly alt attributes.
Turning Seekvector files into masterpieces is about process, not magic: plan a clear concept, choose the right format, customize with purpose, and optimize for speed and SEO. With a consistent palette, tidy typography, and thoughtful exports, your visuals will look premium everywhere—from homepage heroes to social ads and print. Explore fresh assets on Seekvector and start transforming ideas into polished, high-impact art today.