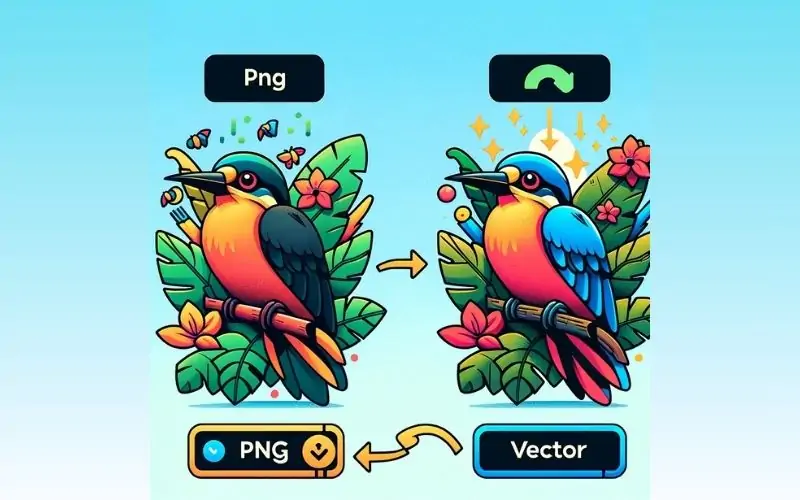
Converting a PNG to a vector is essential for designers and businesses that need high-quality, scalable images. Unlike PNG files, which are pixel-based, vector graphics can be resized without losing quality. Whether you're working on a logo, illustration, or branding material, vector graphics ensure crisp and clear visuals at any size. In this guide, you'll learn step-by-step methods to convert PNG to vector using tools like Adobe Illustrator, Inkscape, and online converters. Let’s dive in!
Scalability: Resize without quality loss.
Smaller File Size: More efficient than high-resolution PNGs.
Editable Components: Modify individual elements easily.
Print & Web Optimization: Ideal for logos, icons, and branding materials.
Logo design
Large-format printing (banners, billboards)
Digital illustrations
Embroidery and laser cutting
Adobe Illustrator is one of the most powerful tools for vectorizing images.
Open Adobe Illustrator and import your PNG file.
Select the image and go to Window > Image Trace to open the Image Trace panel.
Choose a preset like High Fidelity Photo or Black and White Logo (depending on your image type).
Adjust settings such as threshold, paths, and corners for accuracy.
Click Expand to convert the image into a vector.
Save the file as an SVG, AI, EPS, or PDF for future use.
📌 Tip: Use the "Pen Tool" for precise vectorization when auto-tracing doesn’t work well.
👉 Learn more about optimizing vector images for web use here.
Inkscape is a free, open-source vector graphics editor that works well for simple PNG to vector conversion.
Open Inkscape and import your PNG file (File > Import).
Select the image, then go to Path > Trace Bitmap.
Choose a mode: Brightness Cutoff, Edge Detection, or Color Quantization.
Adjust settings like threshold and scan count.
Click OK, then delete the original PNG to keep the vector version.
Save as SVG, EPS, or PDF.
🔹 Pro Tip: Use the "Node Tool" to fine-tune the vector path.
👉 Check out other free design tools here.
If you need a quick conversion without installing software, try these online tools:
Convertio
Upload your PNG file.
Select the output format (SVG, EPS, PDF).
Click Convert and download your vector file.
💡 Best for: Simple graphics, icons, and logos.
Use high-resolution PNG files to get better vector results.
Avoid images with too much noise or complex gradients—these don’t convert well.
Manually refine paths in Illustrator or Inkscape for professional results.
Choose the right file format: SVG for web, EPS for print, AI for editing.