In today’s digital landscape, eye-catching visuals are essential for capturing attention on social media. Vector graphics, known for their scalability and crisp quality, are a top choice for businesses and content creators looking to enhance their campaigns. Unlike raster images, vector graphics maintain their resolution across all screen sizes, making them ideal for social media marketing. This guide will explore how to create compelling vector graphics, including essential design principles, software recommendations, and optimization techniques for various platforms. Whether you’re a beginner or an experienced designer, these insights will help you maximize your social media presence.
Vector graphics offer several advantages that make them perfect for social media marketing:
Scalability – No matter the size, vector images retain high-quality resolution.
Lightweight Files – Vectors are less bulky than raster images, ensuring faster load times.
Customizable – Easily editable without loss of quality, allowing for quick content updates.
Professional Appearance – Clean and sharp visuals make your brand look polished.
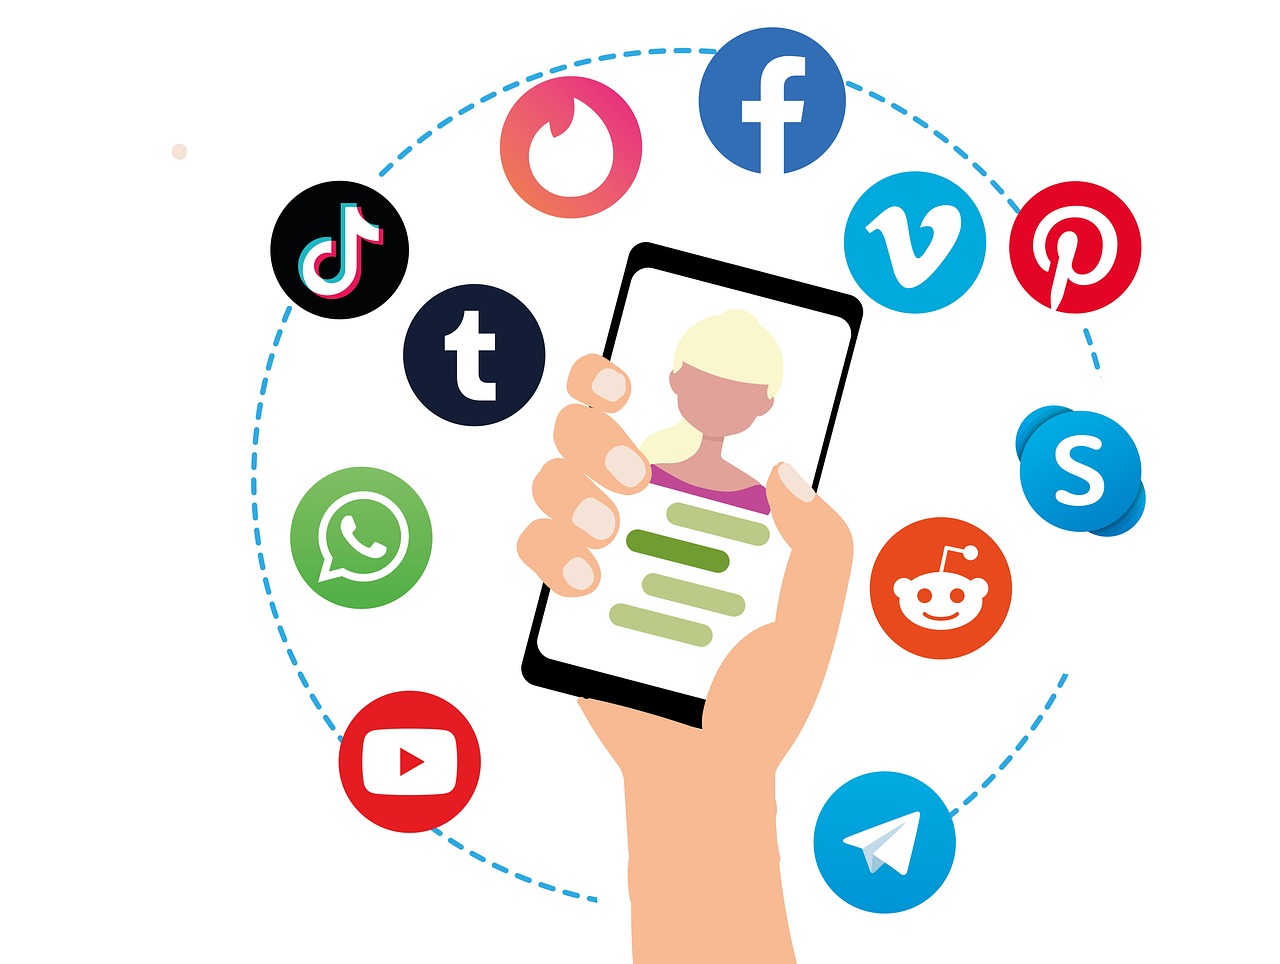
Instagram Carousels – Crisp vector illustrations make posts visually appealing.
Facebook Ads – Sharp, high-resolution graphics attract more clicks.
LinkedIn Banners – Professional vector graphics establish credibility.
To design professional-quality vector graphics, consider these popular software options:
Adobe Illustrator – The industry standard for creating detailed vector illustrations.
CorelDRAW – A user-friendly alternative with powerful design features.
Inkscape (Free) – An open-source tool with extensive vector capabilities.
Affinity Designer – A cost-effective, professional-grade design tool.
Canva Pro – Great for quick, simple vector-based designs.
Use SVG (Scalable Vector Graphics) format for social media to maintain quality across all platforms.
Avoid cluttered designs—stick to minimal, bold elements.
Ensure your graphics are readable even on small screens.
Maintain consistency by using your brand’s official color palette.
Choose fonts that are legible and align with your branding.
Utilize the rule of thirds to create visually balanced graphics.
Align elements properly to guide the viewer’s eye effectively.
Use high-contrast colors to grab attention.
Incorporate call-to-action (CTA) buttons in ad creatives.
Each social media platform has specific size requirements for images. Here’s a quick reference:
Instagram Post: 1080x1080 px (square)
Instagram Story: 1080x1920 px (vertical)
Facebook Cover: 820x312 px
Twitter Header: 1500x500 px
LinkedIn Post: 1200x1200 px
Pinterest Pin: 1000x1500 px
✅ Compress SVG files to improve loading speeds.
✅ Use PNG exports for high-quality transparent images.
✅ Test graphics on different devices before posting.
Adding subtle animations can make your vector graphics more dynamic and engaging:
Use LottieFiles to create lightweight animations.
Convert vector graphics into GIFs for Instagram and Twitter.
Leverage Canva’s animation tools for quick motion effects.
Animated vector logos can make brand intros more memorable on platforms like TikTok and Instagram Reels.