Designing stunning visuals doesn’t always mean starting from scratch. With Seekvector, you have access to thousands of free, professional-grade vector designs that can be easily customized to match your brand or creative vision. Whether you’re working on a business logo, a social media post, or a marketing brochure, editing and customizing these designs can make them truly your own. This guide will show you how to edit and customize Seekvector designs like a pro, covering the tools, techniques, and best practices you need to produce high-quality results. With the right approach, you can save hours of design time while still creating something unique and impactful.
Before you start editing, selecting the right base design is crucial.
Factors to consider:
Purpose: Marketing, branding, social media, or print.
Format: Choose SVG for scalable vector editing, PNG for quick transparent-background use.
Style Match: Ensure the design matches your overall brand identity.
💡 Related Resource: Check our Seekvector collection for ready-to-use files in multiple categories. For additional design inspiration, you can explore Freepik’s vector assets.
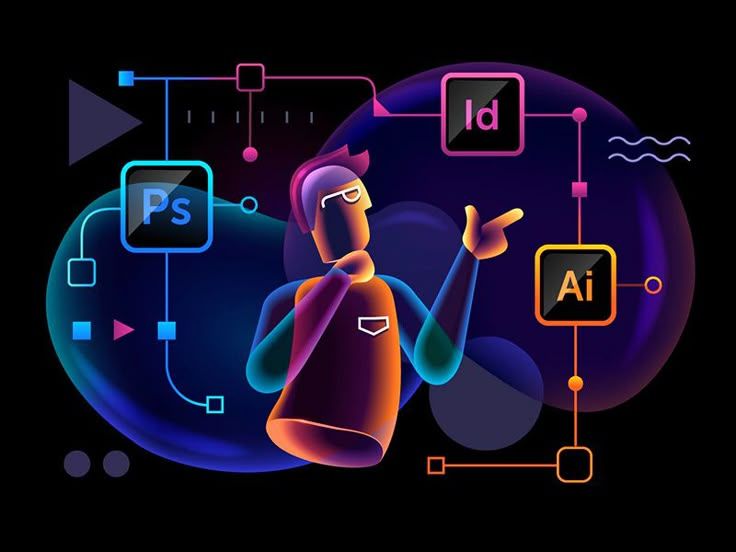
To customize Seekvector designs effectively, you’ll need the right tools:
Adobe Illustrator – Best for professional vector editing.
Figma – Collaborative online design tool, perfect for teams.
Inkscape – A free, open-source vector editor.
Canva – Ideal for quick edits without advanced software.
📌 Pro Tip: Always download the SVG format when possible. It retains all vector layers, making customization much easier.
Import the File – Open the SVG in your chosen design software.
Change Colors – Match your brand’s palette or project theme.
Edit Text – Replace placeholder text with your content.
Adjust Layout – Move, resize, or delete elements as needed.
Add Effects – Apply gradients, shadows, or textures for a unique look.
Export in Multiple Formats – Save in SVG for future edits, PNG/JPG for immediate use.
4. Best Practices for Professional-Looking Results
Maintain Consistency: Use consistent typography, colors, and spacing.
Keep It Simple: Avoid cluttering the design with too many elements.
Optimize for Platform: Export in the correct resolution for web, print, or social media.
Test Your Design: Check how it appears on different devices and screen sizes.
According to design research, consistent branding can increase revenue by up to 23%, making careful customization worth the effort.
Once you’ve customized your design, here’s how you can put it to use:
Branding Materials: Logos, business cards, letterheads.
Social Media Graphics: Posts, stories, and ads.
Marketing Collateral: Flyers, brochures, and banners.
Website Elements: Icons, hero images, and illustrations.
Conclusion
Customizing Seekvector designs is an easy yet powerful way to create professional visuals without starting from scratch. With the right tools and best practices, you can transform free templates into unique assets that perfectly fit your project. Whether you’re a beginner or an experienced designer, the key is to choose wisely, edit thoughtfully, and stay consistent. Start exploring the full collection at Seekvector and bring your creative ideas to life today.