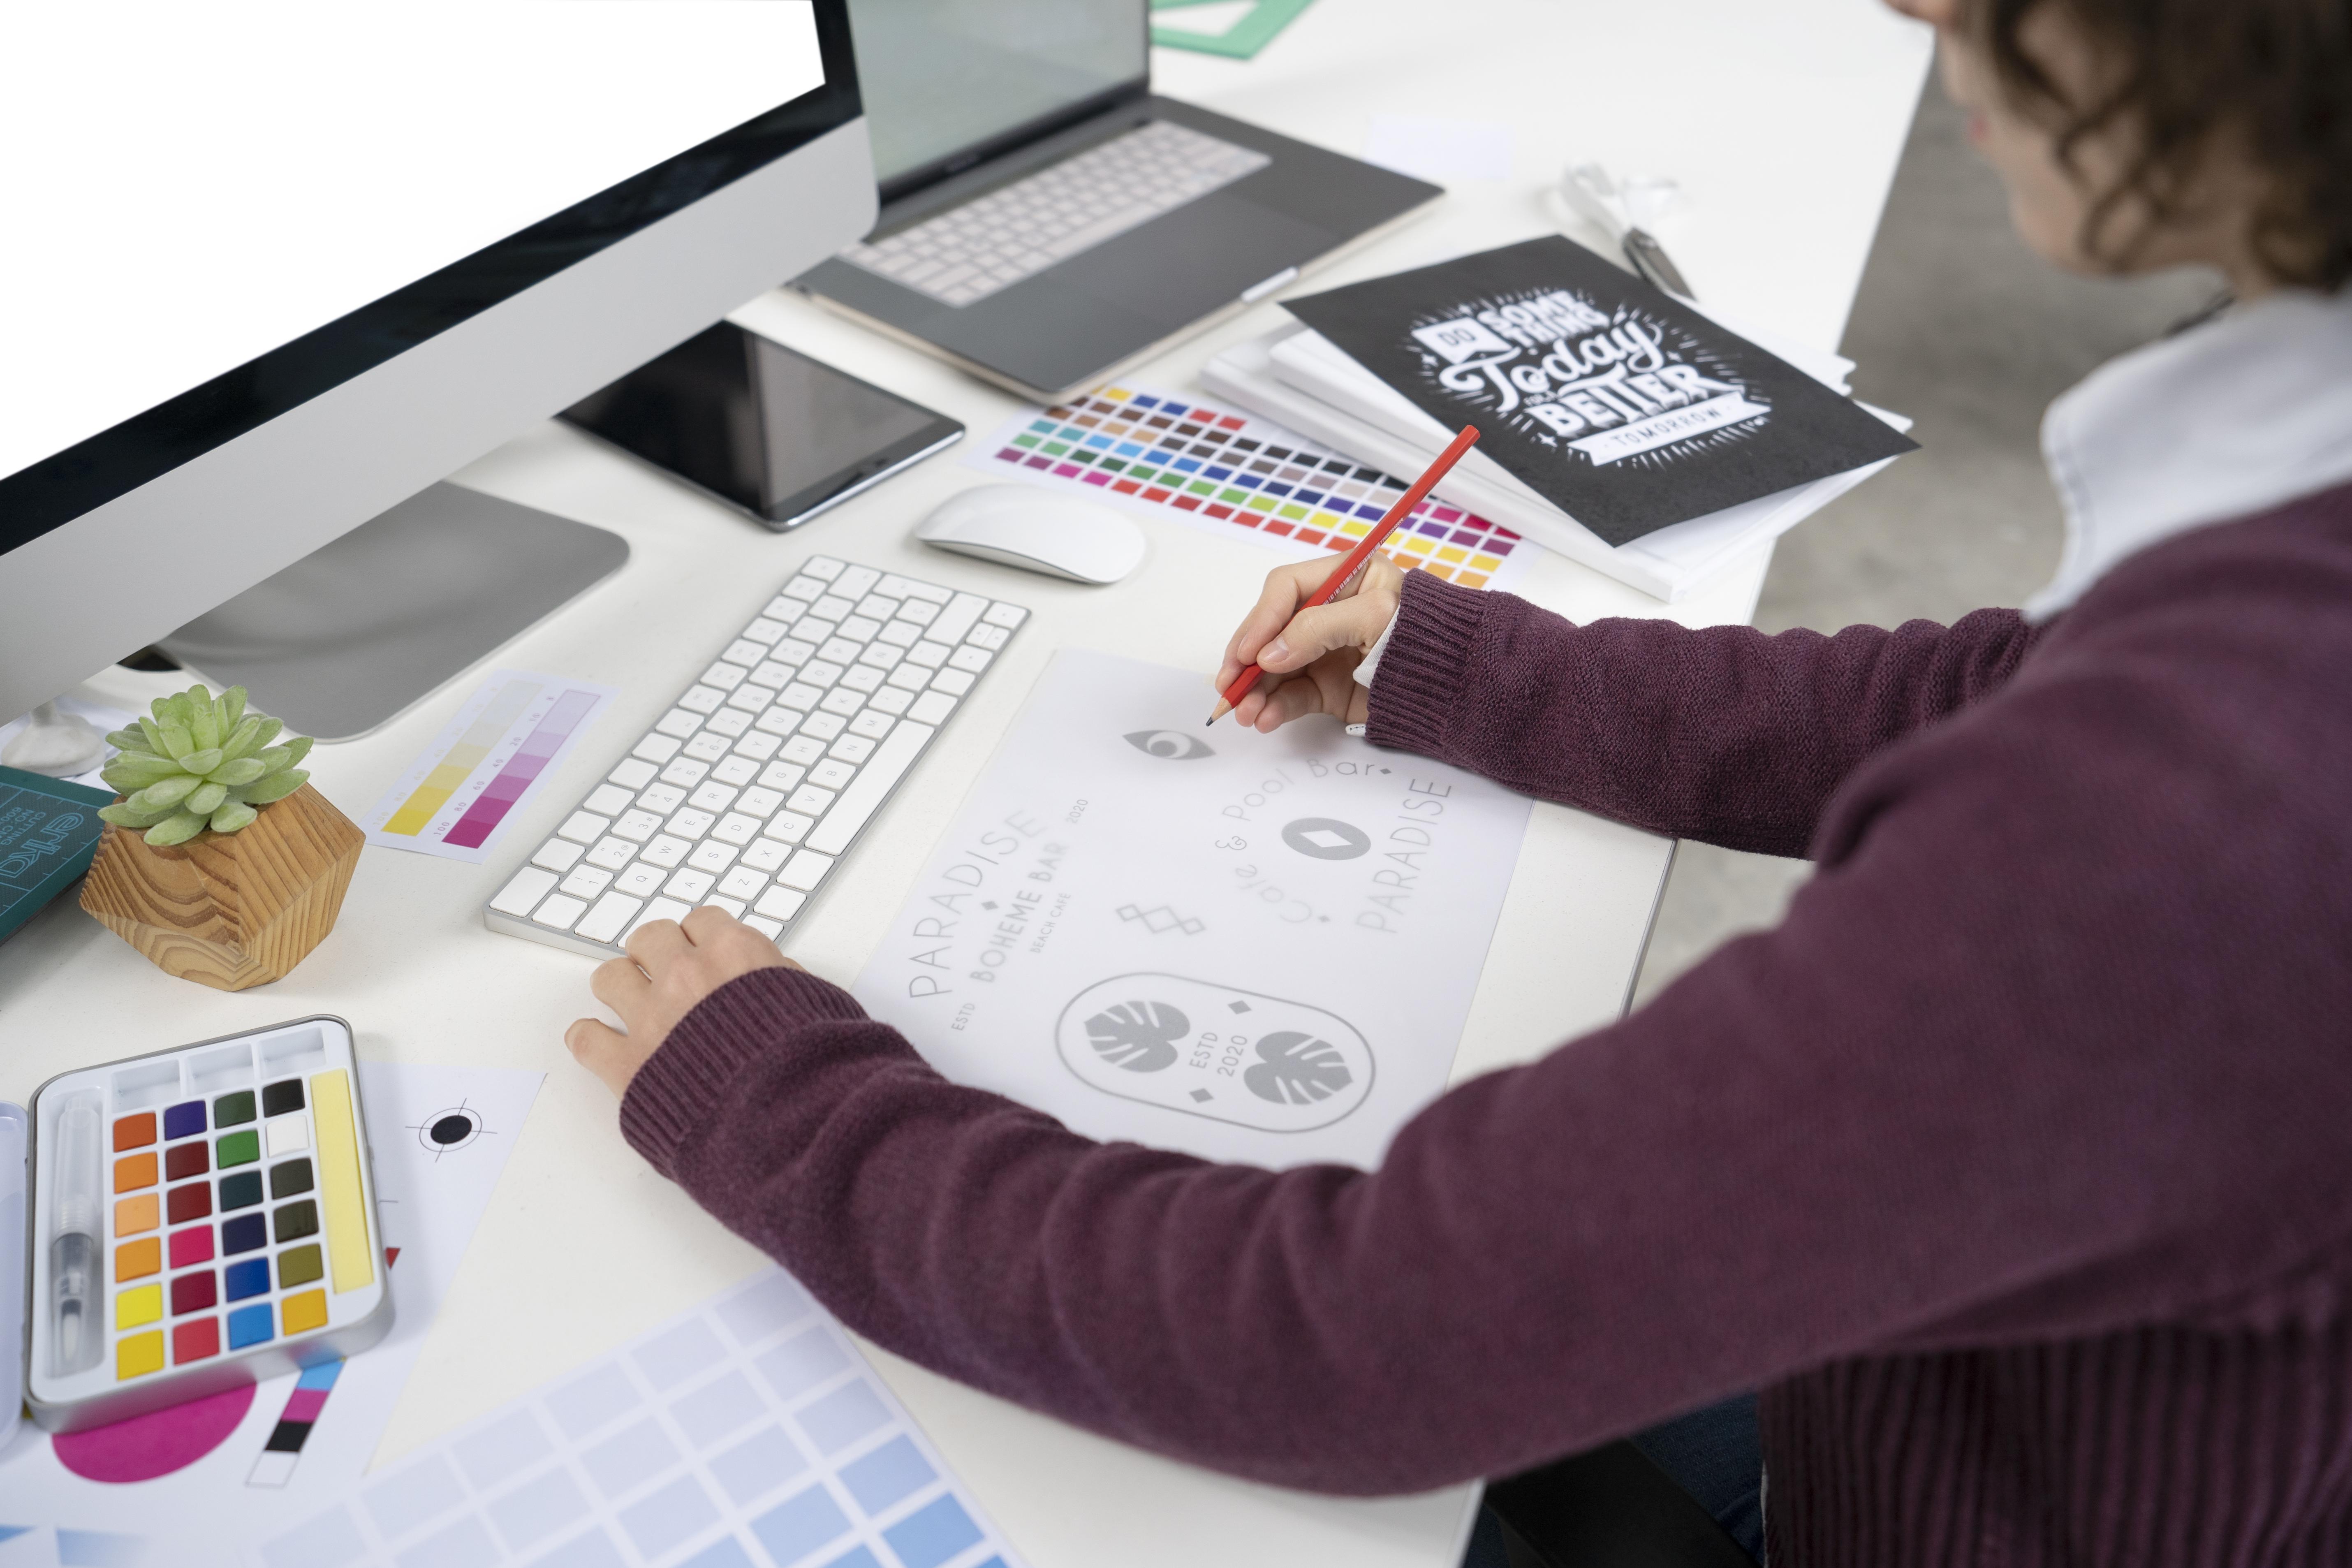
Vector graphics are a game-changer in digital design, offering scalability and flexibility without losing quality. Whether you're a graphic designer, marketer, or hobbyist, knowing how to edit and customize vectors enhances your creative potential. By using tools like Adobe Illustrator, CorelDRAW, and free alternatives like Inkscape, you can modify vector files to fit your projects seamlessly. In this guide, we’ll explore essential techniques for editing vectors, from changing colors and shapes to layering and exporting for various uses.
Vector graphics are made of paths and points instead of pixels, allowing them to scale without losing resolution. Unlike raster images (JPG, PNG), vectors (SVG, AI, EPS) are perfect for logos, illustrations, and digital designs.
Scalability – No loss of quality when resized.
Editable Components – Modify colors, shapes, and text easily.
Smaller File Sizes – More efficient than high-resolution raster images.
Best for Print & Web – Used in branding, advertising, and digital assets.
To edit vectors effectively, you need the right software. Here are some popular options:
Adobe Illustrator – The industry standard for professional vector design.
CorelDRAW – A powerful tool for advanced vector editing.
Affinity Designer – A cost-effective alternative for professional design.
Inkscape – A great free option with robust vector editing tools.
Gravit Designer – A browser-based editor for quick vector modifications.
Vector – Simple and user-friendly for beginners.
Explore the best vector editing tools here.
Editing vectors involves various modifications depending on your design needs. Below are the key steps:
Use Adobe Illustrator (AI, EPS, SVG, PDF) or other compatible software.
Drag and drop your file into the editor or use File > Open.
Right-click on the vector and select Ungroup to separate elements.
Use the Selection Tool (V) to click on individual components.
Select an object and use the Fill and Stroke Panel to change colors.
Apply gradients for depth and visual appeal.
Use the Direct Selection Tool (A) to adjust anchor points.
The Pen Tool (P) helps modify paths and create custom shapes.
Select the Type Tool (T) to insert new text.
Change font, size, and alignment for a customized look.
Save as SVG for web, PDF for print, or EPS for compatibility.
Adjust resolution settings for the best quality output.
Once you master the basics, try these advanced editing techniques:
Organize your design by renaming layers in the Layers Panel.
Lock/unlock layers for easier editing.
Use drop shadows, glows, and texture effects for depth.
Apply blend modes for unique overlays and transparency.
Convert JPG/PNG to vector using Image Trace (Illustrator).
Adjust settings for clean, scalable results.
Learn advanced vector editing tricks here.
To ensure high-quality designs, follow these best practices:
✅ Keep It Simple – Avoid unnecessary details that complicate your design.
✅ Use High-Quality Fonts – Choose readable fonts that match your project’s style.
✅ Maintain Proportions – Avoid stretching elements disproportionately.
✅ Save Multiple Versions – Keep backups to prevent accidental loss.