Free vector icons are widely used in web design, apps, marketing materials, and branding projects. They are scalable, lightweight, and easy to customize, making them one of the most valuable design resources available today. If you’ve downloaded a set of free icons, you might be wondering how to edit free vector icons in Adobe Illustrator so they perfectly match your project’s style. Illustrator is the most popular tool for vector editing, giving designers full control over shapes, colors, and details.
In this guide, we’ll walk through the process step by step, highlight common mistakes, and share professional tips to make your icon designs stand out.
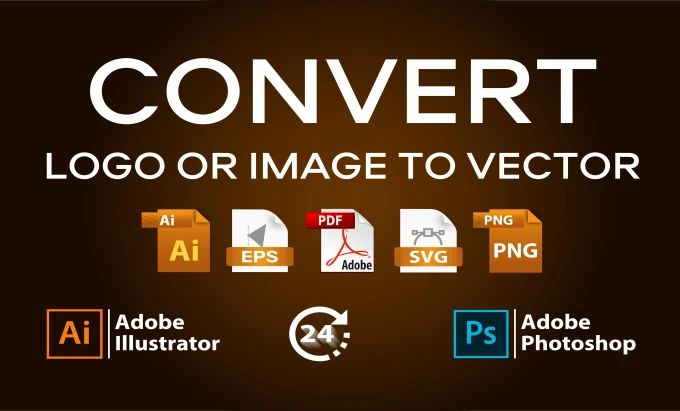
Vector icons typically come in formats like AI, EPS, or SVG. These formats are supported by Adobe Illustrator and preserve scalability.
How to open vector icons:
Launch Adobe Illustrator.
Go to File > Open and select your icon file.
For SVG files, you can simply drag and drop them into the workspace.
👉 Related: Read our detailed guide on AI vs EPS vs PDF to understand vector file types.
Free vector icons often contain grouped shapes. To customize them, you need to ungroup the elements.
Select the icon.
Right-click and choose Ungroup.
Use the Direct Selection Tool (A) to adjust individual paths or anchor points.
This step lets you tweak specific parts of the icon, whether it’s resizing a shape, adjusting alignment, or removing details.
Step 3: Customize Colors and Strokes
One of the easiest ways to adapt icons to your brand is by changing colors and stroke settings.
To change colors in Illustrator:
Select the part of the icon with the Selection Tool (V).
Apply new shades using the Color Picker or Swatches Panel.
Adjust stroke weight in the Stroke Panel for bolder or thinner lines.
Pro Tip: Use your brand’s exact HEX or RGB values for color consistency across all icons.
🔗 External Resource: Adobe Illustrator’s color guide explains advanced color editing techniques.
Vector icons are resolution-independent, meaning you can resize them without losing quality.
How to resize and export:
Select your icon and scale using the Transform Tool.
Export as SVG for websites and apps.
Export as PNG for presentations or social media.
Save as AI or EPS for future edits.
👉 Explore free vector downloads to get editable icons for your projects.
To keep your icons professional and consistent, avoid these pitfalls:
Rasterizing vector icons — this removes scalability.
Using too many colors — icons should stay simple and clear.
Ignoring spacing and alignment — uneven icons can look unprofessional.
Exporting in the wrong format — always choose the right format for web or print.
Editing free vector icons in Adobe Illustrator is simple and powerful. By ungrouping elements, changing colors, and exporting in the right formats, you can customize icons that perfectly fit your brand or project. With Illustrator’s tools, your free icons can be transformed into polished, professional assets for any platform.
👉 Start creating better designs today with SeekVector and access thousands of free and premium vector icons ready for customization.