Logging into your router is a simple yet essential task for managing your home network. Whether you need to change your Wi-Fi password, update your router’s firmware, or configure security settings, accessing your router’s admin page is the first step. But how exactly do you log into your router? In this guide, we’ll walk you through the process step by step, ensuring that you can easily access your router’s settings. Understanding how to log into your router is vital for maintaining a secure and optimized home network. This article will provide you with all the information you need to gain access to your router’s admin panel and make necessary changes to your network configuration.
Before you can log into your router, you need to ensure your device is connected to the network. Whether you’re using a wireless or wired connection, this is the first step.
Ensure your device is connected to the router’s Wi-Fi network.
You can check this by looking for the network name (SSID) in your device’s Wi-Fi settings.
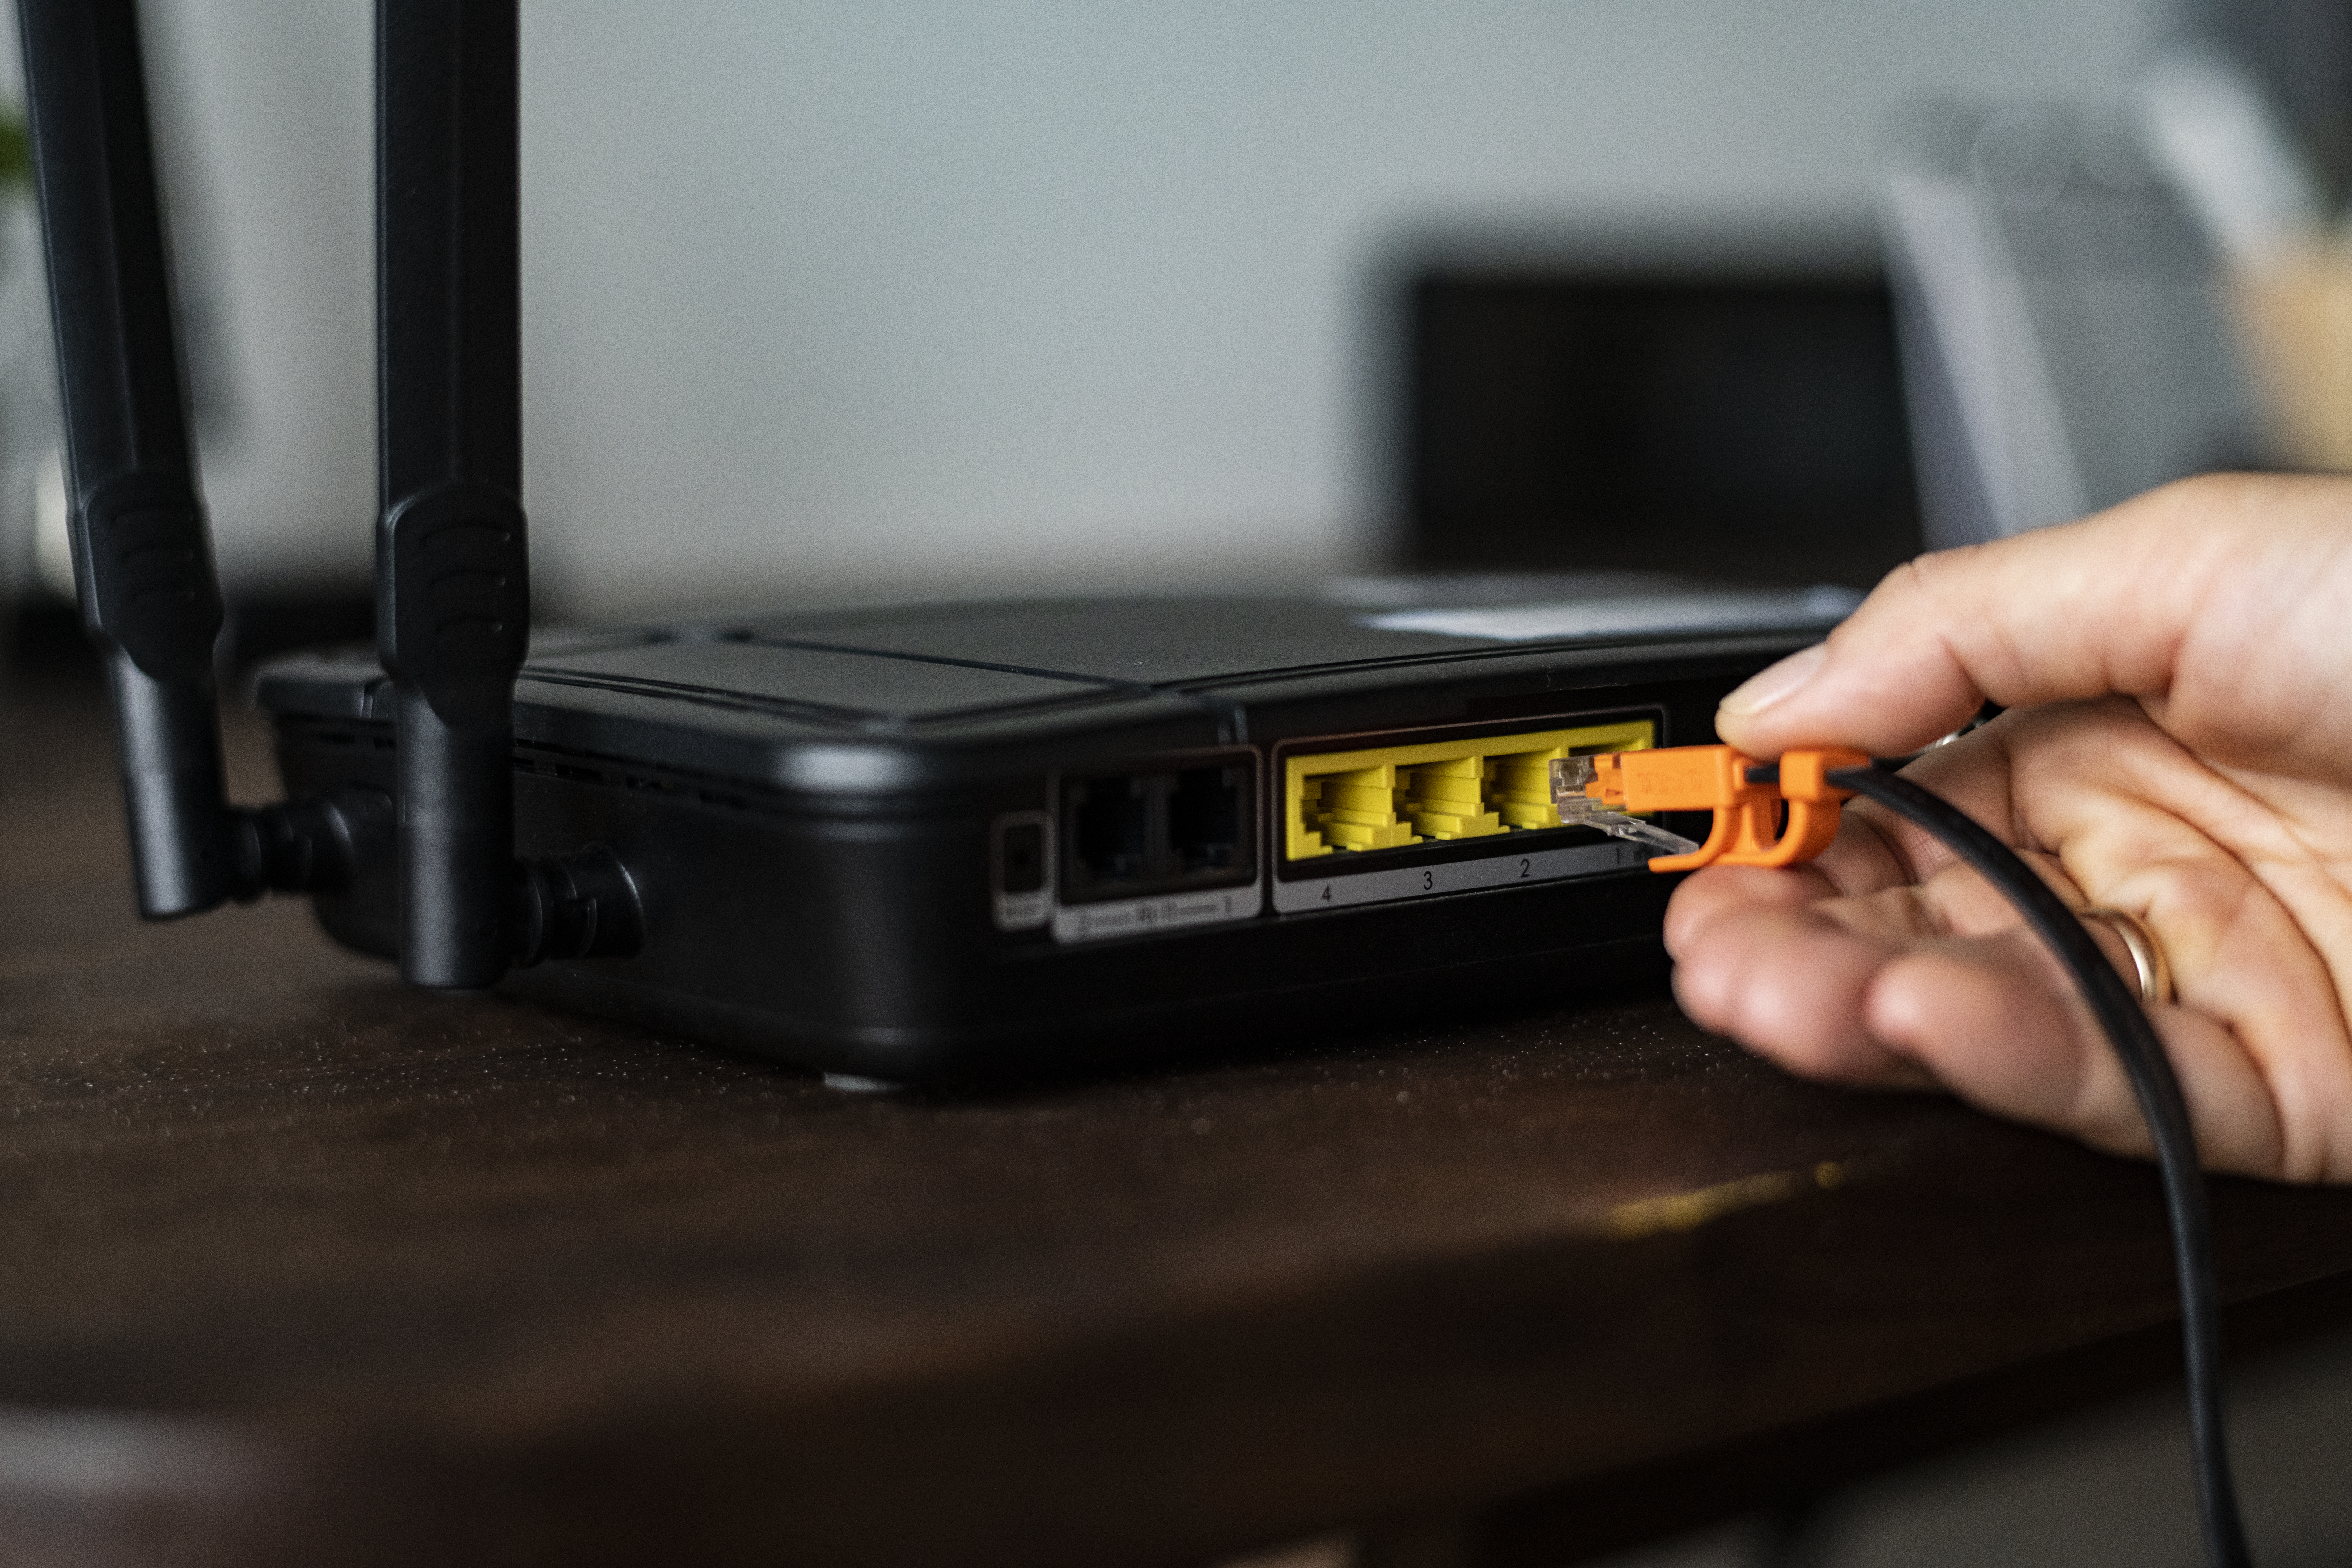
If you prefer a more stable connection, you can connect your device directly to the router using an Ethernet cable.
Plug one end of the Ethernet cable into your router and the other into your computer’s Ethernet port.
Once you’re connected, the next step is to open a web browser and enter the router’s IP address.
192.168.0.1
192.168.1.1
192.168.1.254
Type one of these IP addresses into the address bar of your web browser and press Enter.
If the default IP address doesn’t work, you can find the router’s IP address by following these steps:
On Windows: Open Command Prompt and type ipconfig. Look for the “Default Gateway” under your network connection.
On Mac: Open System Preferences, go to Network, and click on your connection. Your router’s IP address should be listed as the Router.
Once you’ve reached the login page, you’ll need to enter the correct username and password. Most routers have a default username and password set by the manufacturer.
Here are a few commonly used default login credentials for routers:
Username: admin
Password: admin
Username: admin
Password: password
Username: root
Password: 1234
If you’ve already changed your login credentials and forgotten them, you can usually reset your router to factory settings by pressing the reset button (located on the back of most routers). Note that this will erase any custom settings you’ve configured.
Once you’ve logged into your router, you can begin configuring settings. Common tasks include:
You can change your Wi-Fi name (SSID) and password from the router’s settings page.
It’s a good practice to use WPA3 encryption for better security.
Firmware updates help improve the performance and security of your router. Check the router’s admin page for any available updates.
Port forwarding is necessary for certain applications, like gaming or accessing a home server remotely. You can configure this through the router’s settings.
After you’ve made the necessary changes, it’s important to log out to prevent unauthorized access.
Look for the “Log Out” button or option on the admin page, usually located in the upper-right corner.
Logging out ensures your router settings are secured.
For added security, ensure that your router’s admin password is strong and unique.
Avoid using common passwords and consider using a password manager to keep track of them.